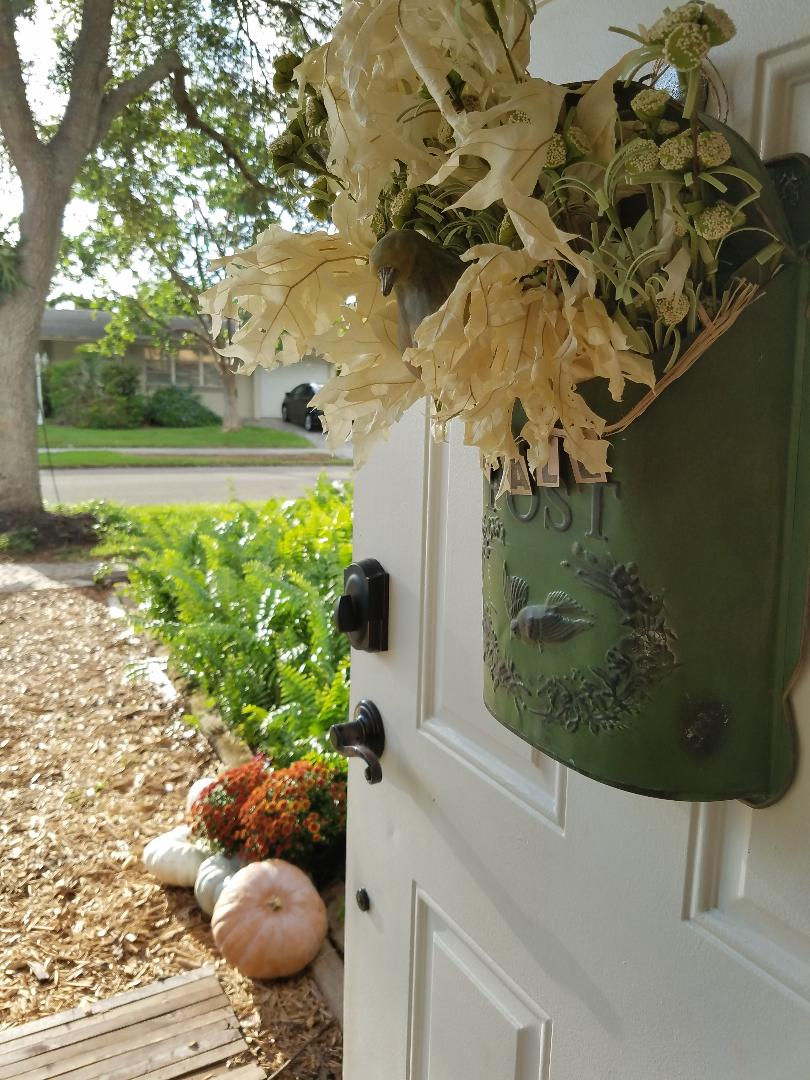
Autumn in a Box - An Easy Peasy Front Door Arrangement
- Kristy
- Oct 16, 2017
- 3 min read

Hello again! Kristy here, Fall is in full swing here and we are loving it! This season just begs you to decorate...to get festive. This year, I'm feeling a little inspired to think outside the box, ya know? Like the same 'ole wreath on the front door isn't gonna cut it this year! Do you ever feel like that? Like you just need a little creative refresh but a HomeGoods run isn't in the budget?
Well, I thought I'd show you how you can put a fun new twist on the classic door wreath this Fall. This is a super simple, budget-friendly, 10 minute project that transitions nicely from one season to the next. With just a quick change of your foliage you can create a fun, welcoming, and unique door "wreath" for every season!

Start by choosing your container... I'm using the Middleton Mercantile Embossed Vintage Post Box from the site (you can find it here), but get creative - almost anything will work, an Olive Wall Bucket, Willow Door
Basket, Rusted Barn Bucket, a box covered with burlap,...seriously, your options are endless.
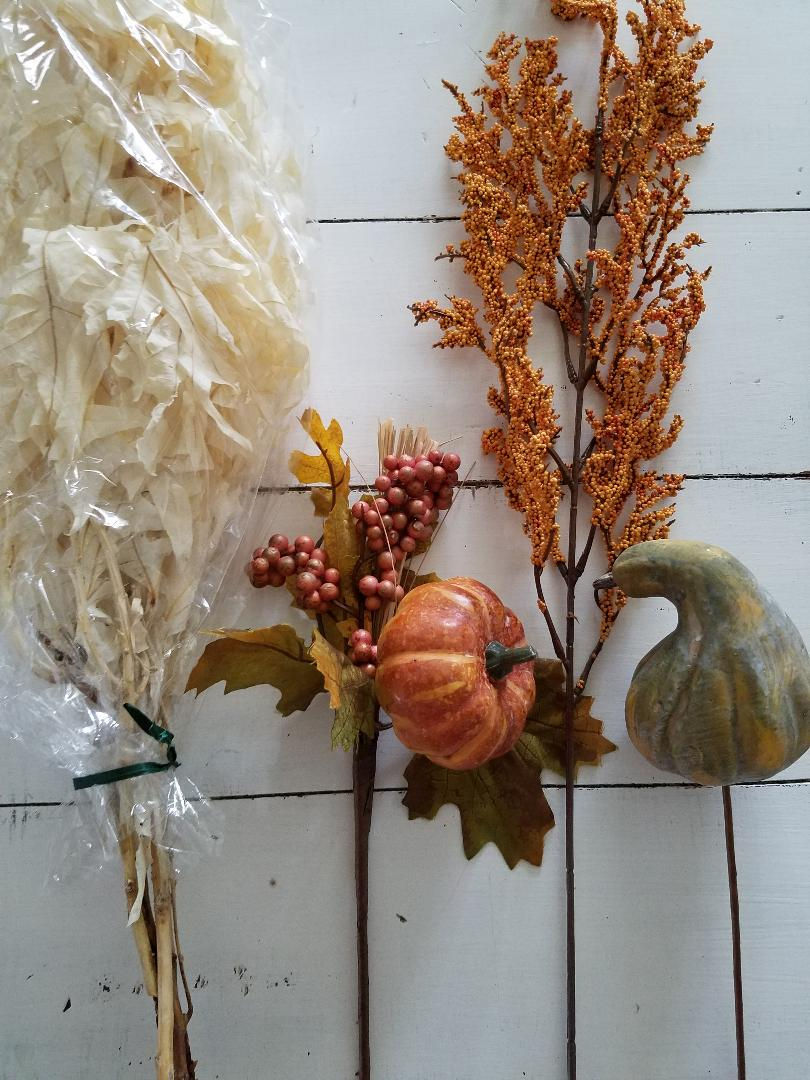
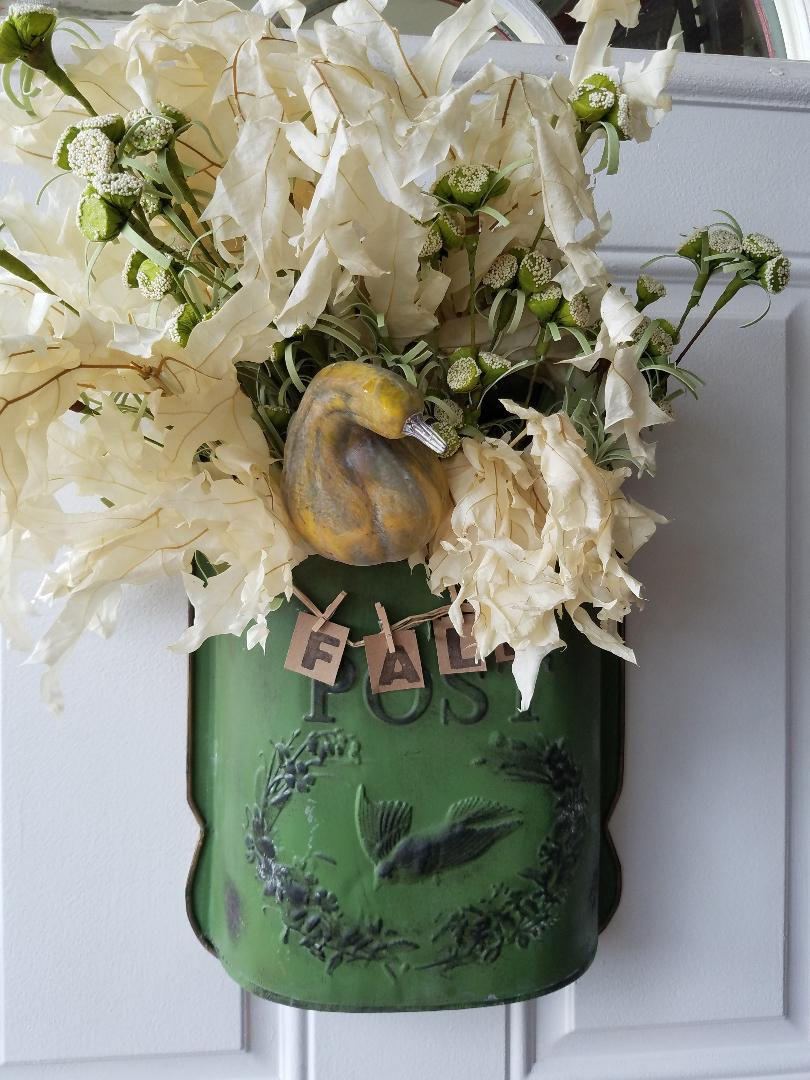
Then, I choose a selection of season appropriate filler, stems and picks. I got mine from Hobby Lobby for 50% off. If you miss out on the craft store markdowns just use your handy online coupon! I then laid them all out to visually get a feel of my products. I wasn't sure exactly what I wanted to use so I just started playing with my materials. Use your tallest stems first at the back of the box. I used these beautiful dried white leaves. They needed a good fluffing when they came out of the packaging. Then add in your next "layer" of filler. I decided against the orange stems above and put them aside for another arrangement. Instead I grabbed some simple greenery branches I had and used them to fill in some more space. Stand back and see how it looks! I thought it looked pretty good at this point but wanted to add in that cute little crook neck squash. I just tucked it in towards the front where I noticed a slight empty spot.
Don't forget - twigs and leaves from your yard will work great too!

The last step was to take my alphabet stamps and stamp the word "Fall" on to some craft paper. I cut the letters out and used my mini clothes pins to clip them to some raffia. I love raffia because it reminds me of corn stalks which I think are so pretty in fall decor. Twine would work great as well.
And here's a fun idea...if you have some of those magnetic alphabet letters hanging out on your fridge ...give them a quick coat of spray paint and slap a cute message on your post box for your visitors because it's magnetic! Now how great is that? Cheap and Cheerful!
Remember: Don't get stuck on perfection or the little details - have FUN with it! Let your creation be a reflection of who you are and what your home means to you. Let it tell your story.
Don't forget to follow me on Instagram for lots more daily decor inspiration! You can find me at @creepingfigcottage.
Have a great day!
~Kristy


Comments